After storing my motorcycle over the winter, I wondered, what are the steps to starting your motorcycle after winter?
I started to research how to start up my motorcycle after the winter break. How am I going to start my motorcycle and get back on the road? If you’re like me and don’t know where to start, we’ve broken down the process below to get you on track to getting your motorcycle on the road, safely, this upcoming season. Grab all of your gear, remove the cover, inspect, clean and go.
Let’s get started (pun intended).
Even if you followed the steps in our article on storing your motorcycle during the winter, you still have to perform a few maintenance tasks before heading out on the open road once more. If you haven’t completed these tasks, you will have a few more items to take care of. Either way, this article will teach you what you need to do in order to fully enjoy a safe riding experience after a long winter break.
Get everything you need!
- Battery
- If you’ve removed your battery from your motorcycle and stored it for the winter, be sure to get it ready to install back into the motorcycle.
- If you have left your battery in the motorcycle be sure to check it with a volt meter prior to trying to start the motorcycle.
- Chain Cleaner & Chain Lube
- Cleaning supplies
- As I have a matte painted bike, I use Chemical Guys products to ensure the matte finish isn’t damaged.
- Gear
- Getting a fresh start to the season is not only about getting the motorcycle ready, but your gear as well.
- Clean all of your gear – gloves, helmet, pants, jackets, shoes, and any other gear you have.
Do you have everything you need?
Let’s get started.
Remove cover
If you’re like me, you’ve stored your motorcycle under a cover. Remove the cover and take a peak at the condition of your motorcycle.
Review the condition of your motorcycle.
- Moisture Damage
If you ended the season last year on a wet note, there may have been some water on your motorcycle that could have caused damage. Although this takes a considerable time to happen, for peace of mind, check for damage.
- Corrosion & Rust
If you notice any rust, sand and paint that particular spot to prevent the rust from spreading further. You may need to head to your local motorcycle dealership to grab a paint pen or other applicator to get the job done.
- Scratches
If your motorcycle cover isn’t tight or stored outside, it can flap in the wind and cause damage to your paint. Be sure to inspect your paint for any scratches. Buff out with some compound, polish and seal it for best results.
- Dust and Contamination
Dust and contamination is going to happen regardless. Wipe down the motorcycle and check for any iron or tar contamination from last year and be sure to grab a product to remove this contamination during the washing process.
Check the fuel
- Can gas go bad?
- Gasoline can in fact degrade over time, which leads to a number of problems, ranging from hard starting to rough running to no starting at all. So, does gas go bad? Yes it can.
- How long does it take for gas to go bad?
- That depends on a number of factors. For one, it’s hard to know how old the gas you just bought actually is. It may be fresh from the refinery, or it may be a month old already by the time you top off your tank. Some gasoline is mixed with better (or more) oxidation inhibitors than others. It’s a good rule of thumb to avoid leaving gas in your tank or a storage container for more than a couple of months. That’s if – of course – you can avoid it.
- Identifying Bad Gas
- One way is to eyeball it. Oxidized fuel often turns darker over time and may even smell sour. You can check stored gasoline by pouring some into a clear glass container and comparing it side-by-side with known fresh gasoline. If your old sample looks noticeably darker than the fresh gas, you have strong evidence the gas has gone bad.
Flat Spots on Tires
If your motorcycle was left on concrete or pavement during the winter, it could lead to flat spotting over the winter. Be sure to check your tires for flatness as this can lead to an unconformable riding experience. A motorcycle stand is your best bet when storing your motorcycle to avoid flat spotting.
Inflate Tires to Correct Pressure
While you’re checking your tires for flat spots, be sure to check your tires pressure. It is extremely important to ensure your tire pressure is at the recommended manufacturers level. This will help your riding experience be much smoother and allow for proper tire wear.
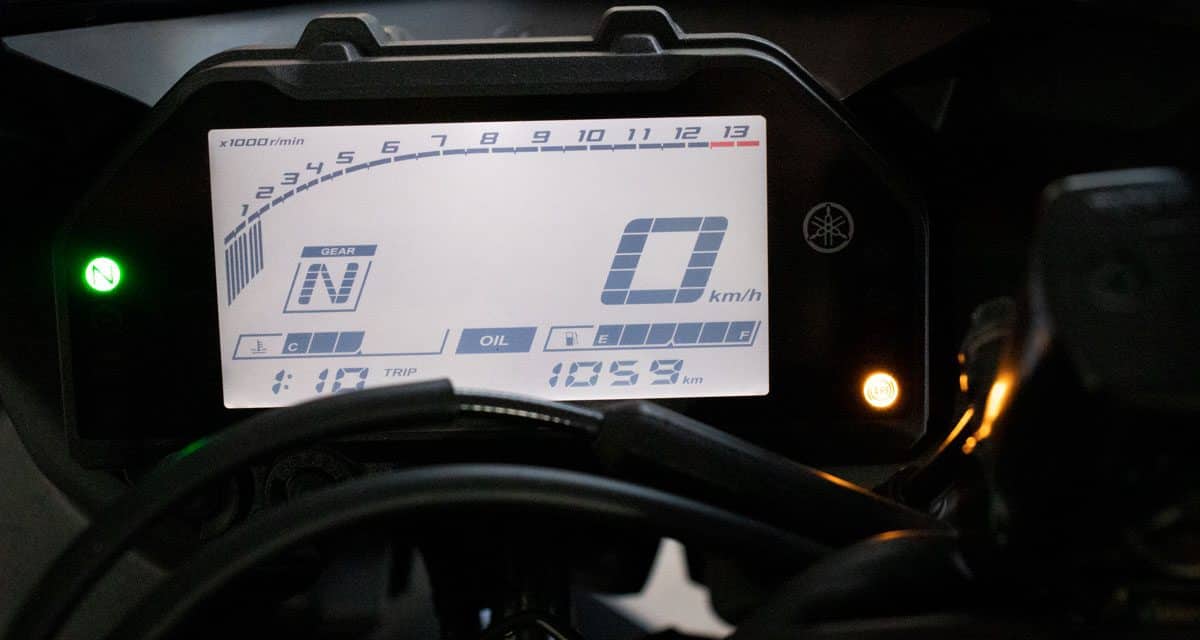
Battery Installation
There are a few different methods to storing your batter over the winter. Let’s go over what you need to do to get started.
Did you:
Remove your battery?
- Remove seat and fairing.
- Install Battery.
- Start engine.
- Install seat and fairings.
- Check Brakes, Lights, and Clutch.
Trickle Charged or Maintained your battery?
- Check the status on the charger or maintainer.
- Start engine.
- Remove charger.
- Check Brakes, Lights and Clutch.
Left the battery in your motorcycle?
- Turn key.
- No power? Test with multimeter and charge if possible.
- Can’t charge? Buy a new battery.
- Check Brakes, Lights and Clutch.
Wash
Give your motorcycle a wash.
Wash your gear
Clean and Lube Your Chain
I use Simple Green to clean my chain along with Motomaster Gear Oil for lubrication. Check out these tests done by Fortnine and judge for yourself which products to use.
Conclusion
Hopefully this article has pointed you in the right direction to get you on your motorcycle safely right after the winter break! Ride safe out there.