Having a video recording device on your helmet is not for just creating some great content but it also allows you to record your ride in the event of a collision. GoPros are well known for being rugged, waterproof, and high quality, but how do you attach one to your motorcycle helmet easily?
I’ve gone through a lot of videos and articles from the past but nothing has covered the newest line of GoPro equipment and boy have they made it easier for you to mount a GoPro to your helmet. This includes the newest GoPro Hero 8 Black, the GoPro Media Mod and a few other items that we will cover below.
Without further adieu, let’s take a look at the best GoPro motorcycle helmet mount for 2020.
Sample
Before we get started, here’s a sample of how this setup looks on my R3 and popular Youtuber Walteriffic using the same setup in one of his videos!
What do I need?
To get started there are going to be some items that you will need to purchase in order to safely and properly affix this equipment to your helmet.
Your Helmet
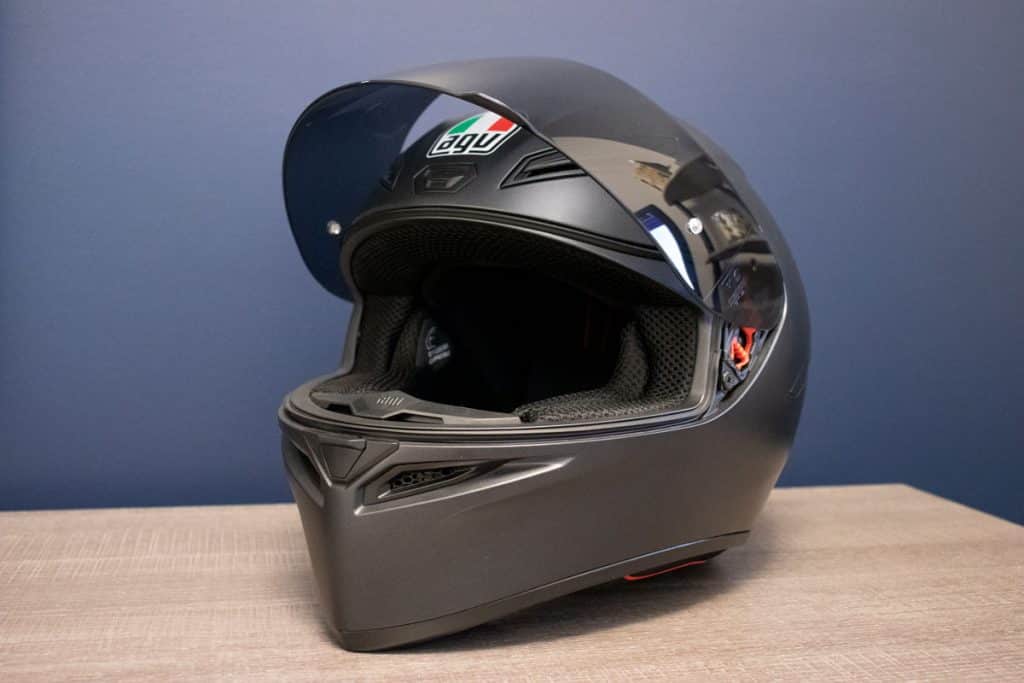
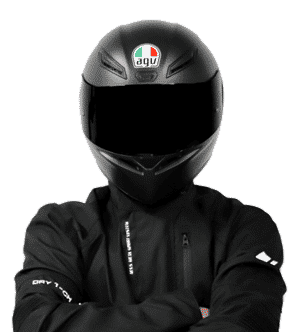
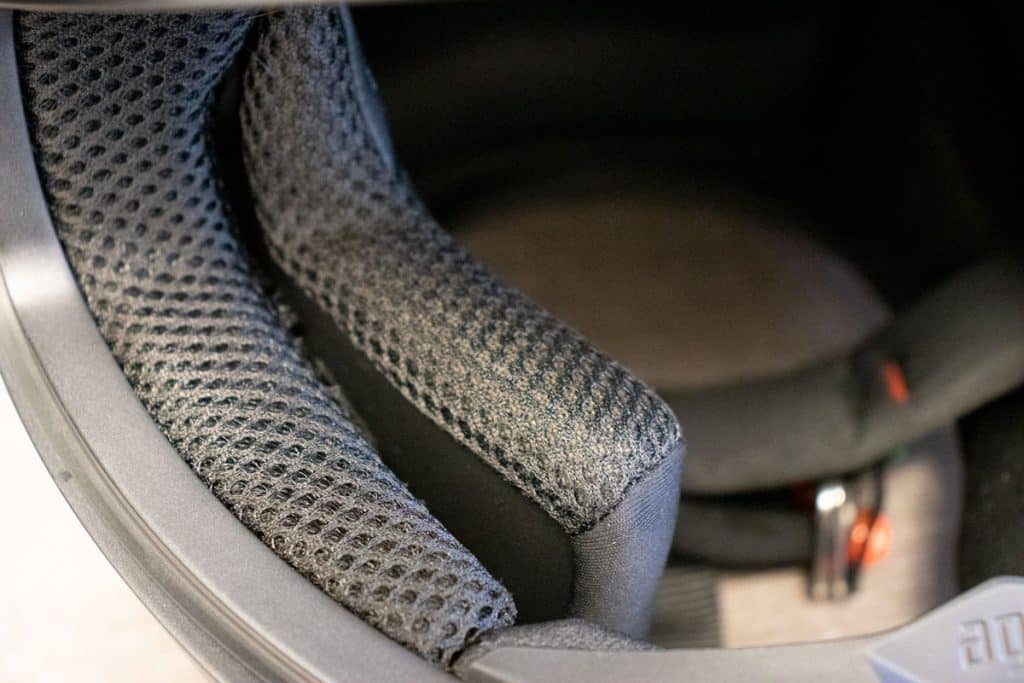
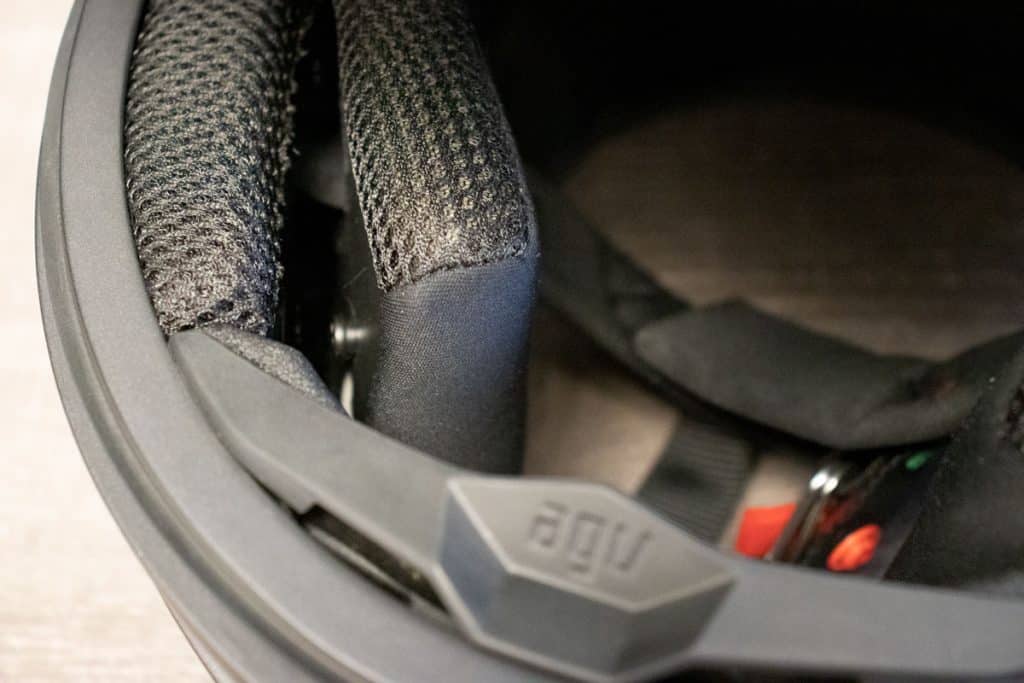
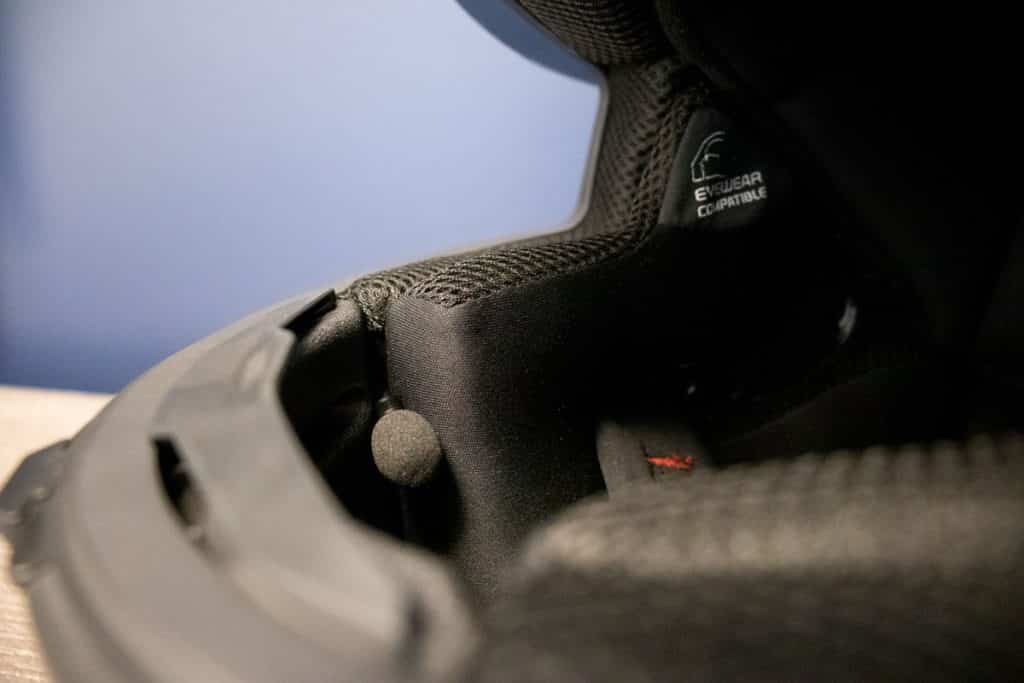
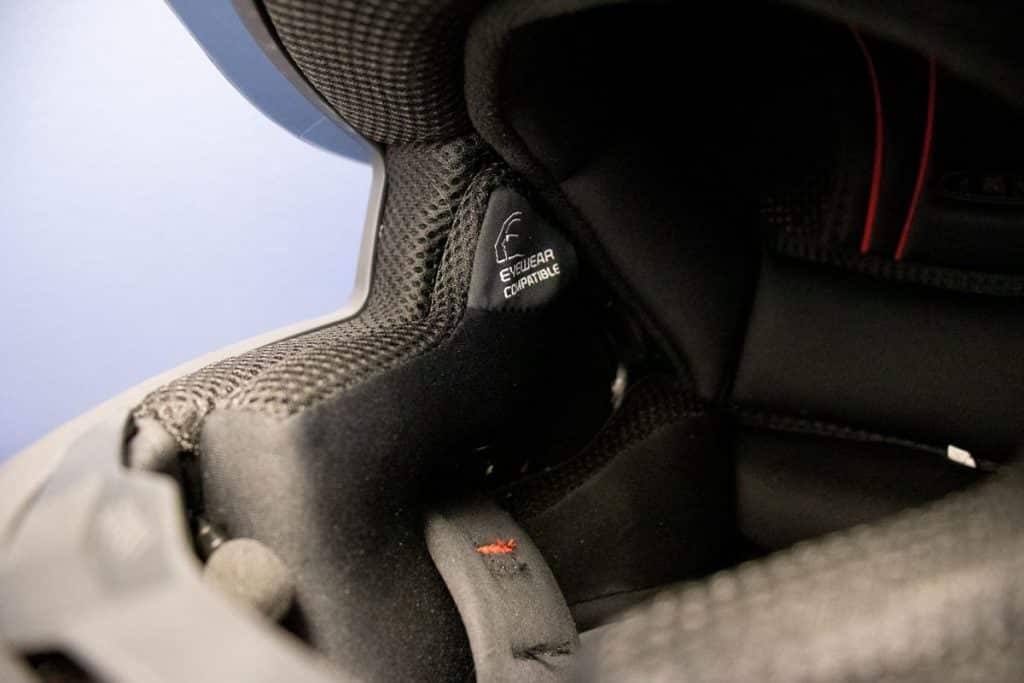
I am going to be using my AGV K1 helmet for this article. This will work with most helmets as they will typically have a flat-ish contour to either side of the chin. Take a look at your helmet and see if there is an easier way to mount the camera without the extensions detailed below.
If you’re new to riding, the K1 is a fantastic helmet. It provides quality airflow along with long term comfort when riding.
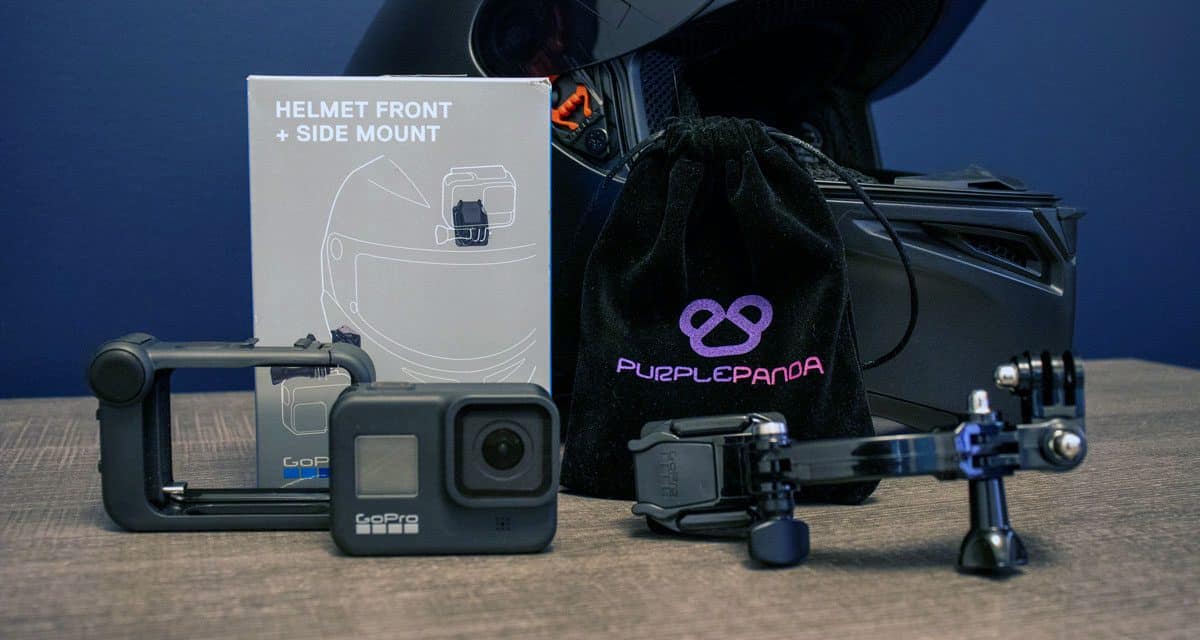
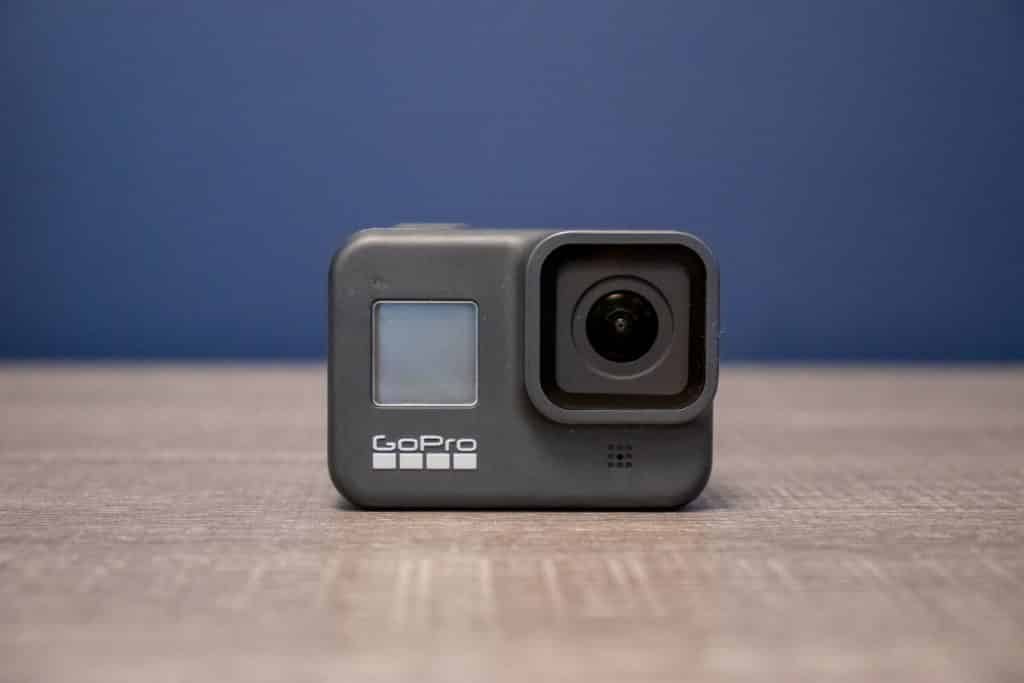
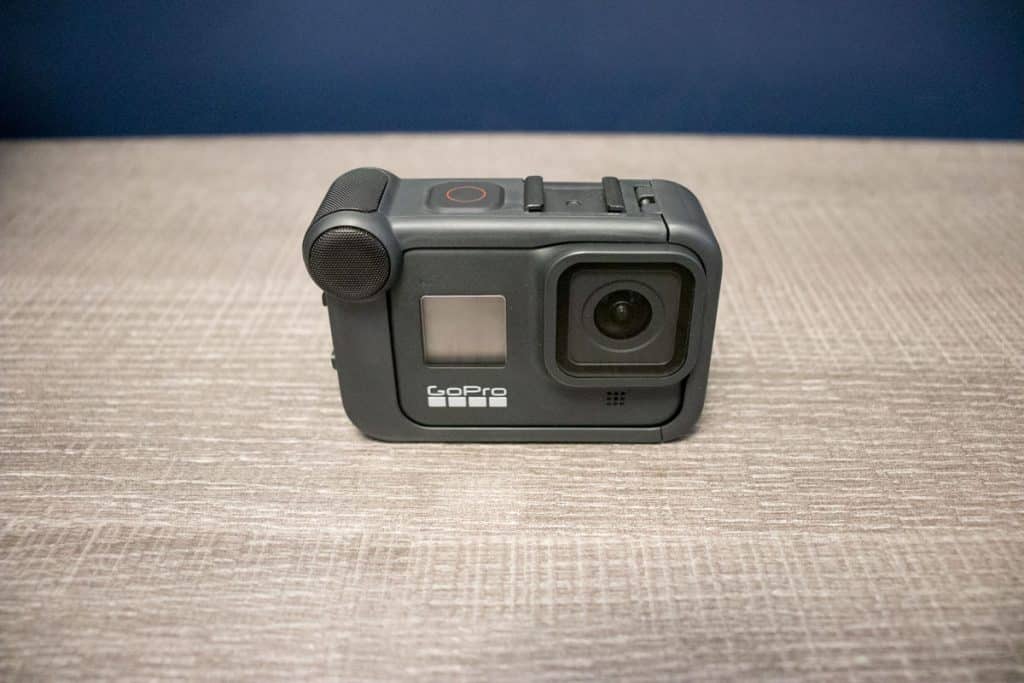
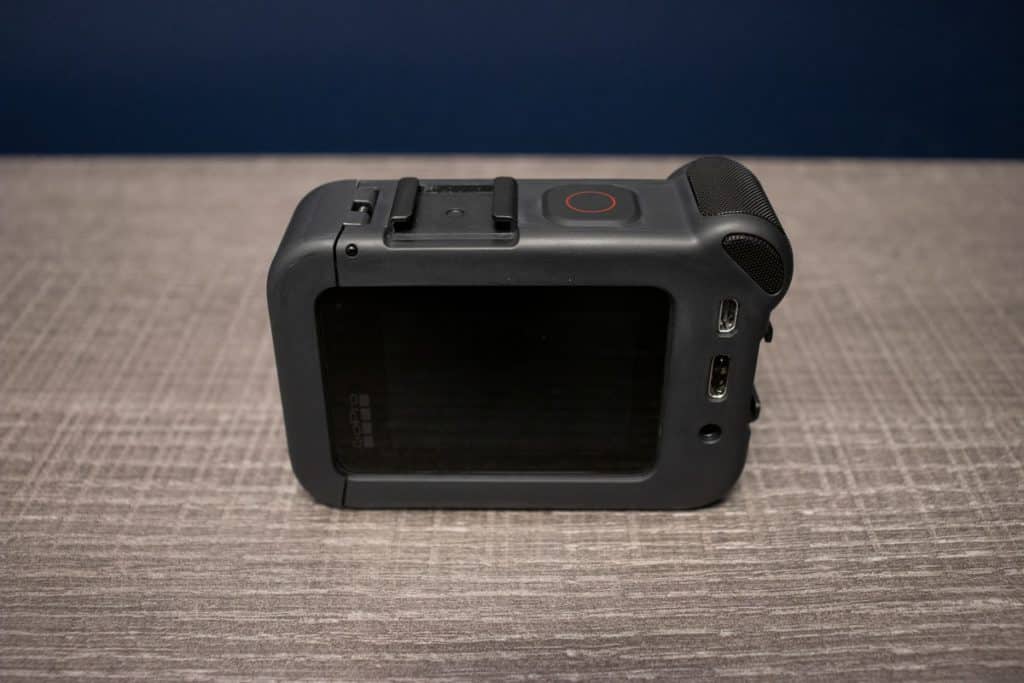
GoPro Hero 8
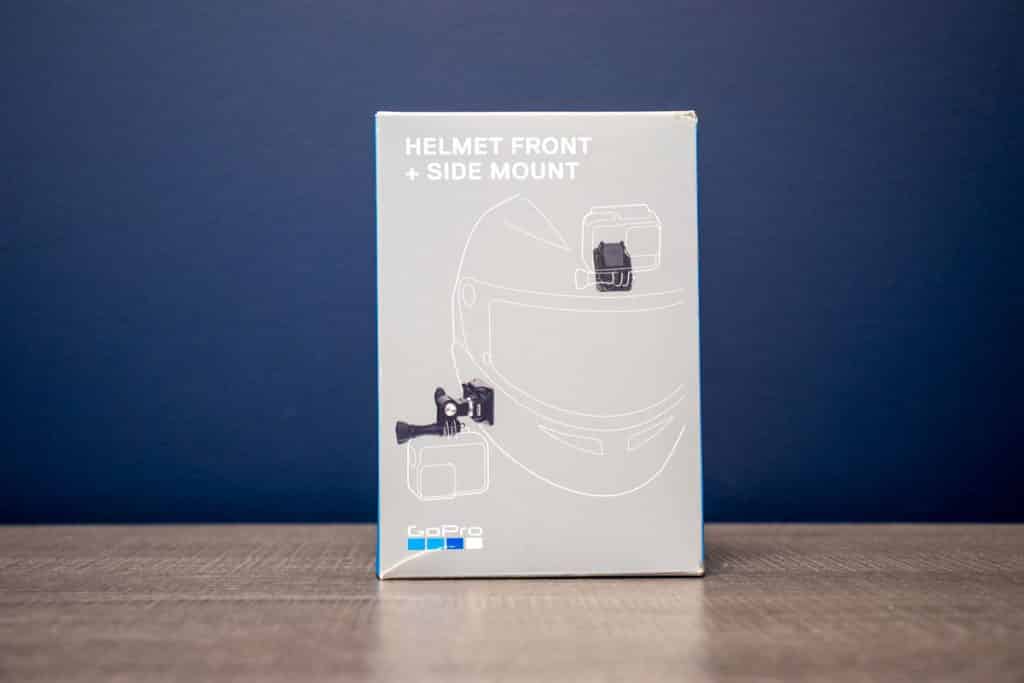
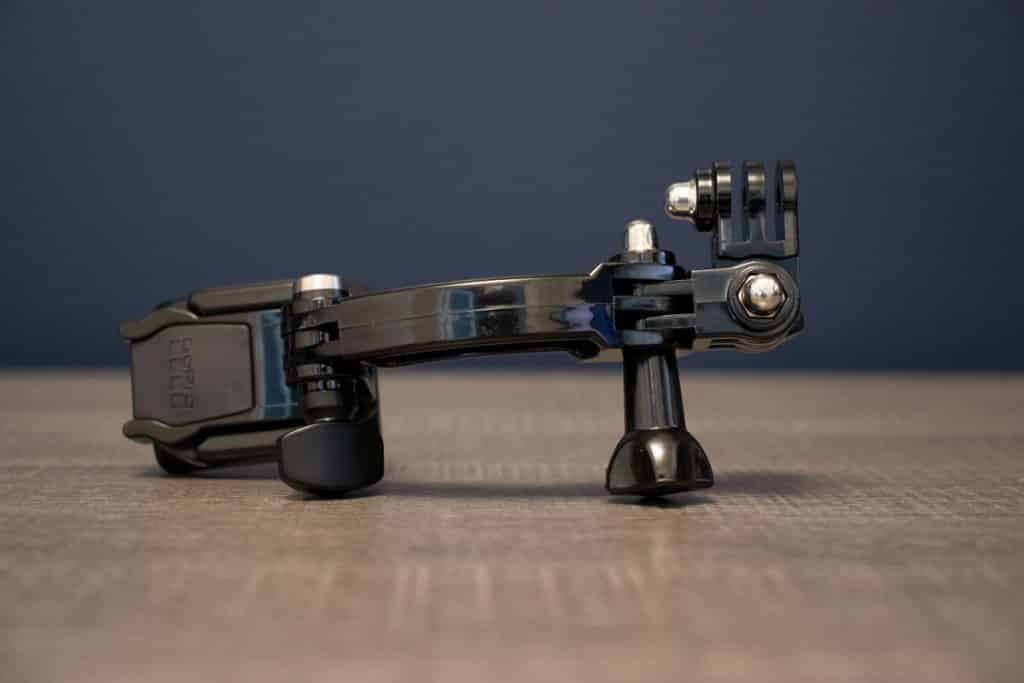
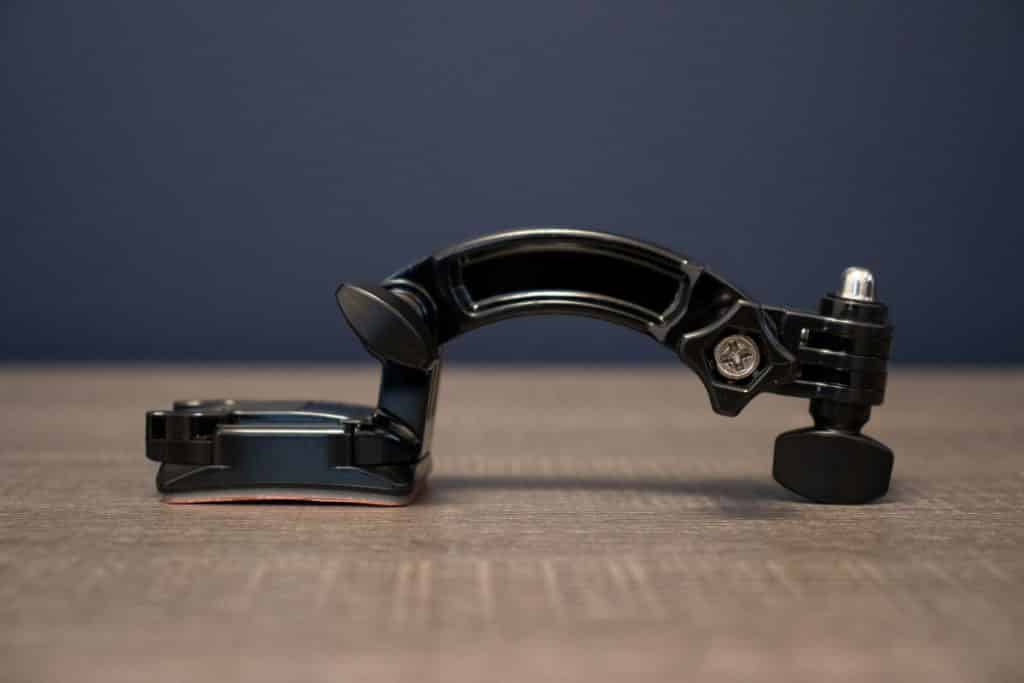
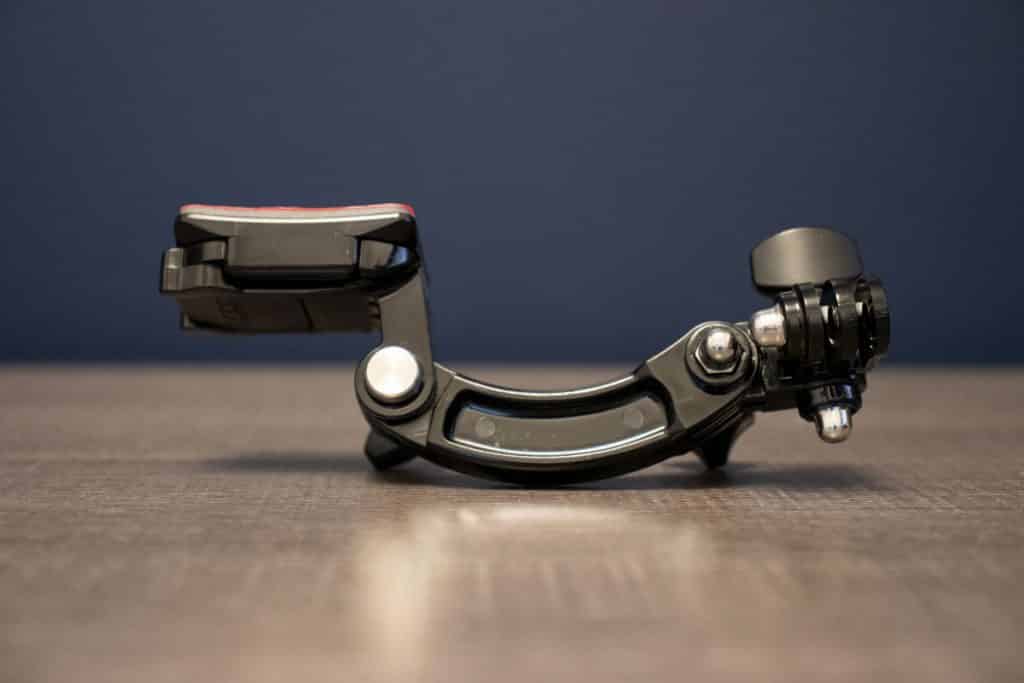
GoPro Helmet Mount
GoPro Media Mod
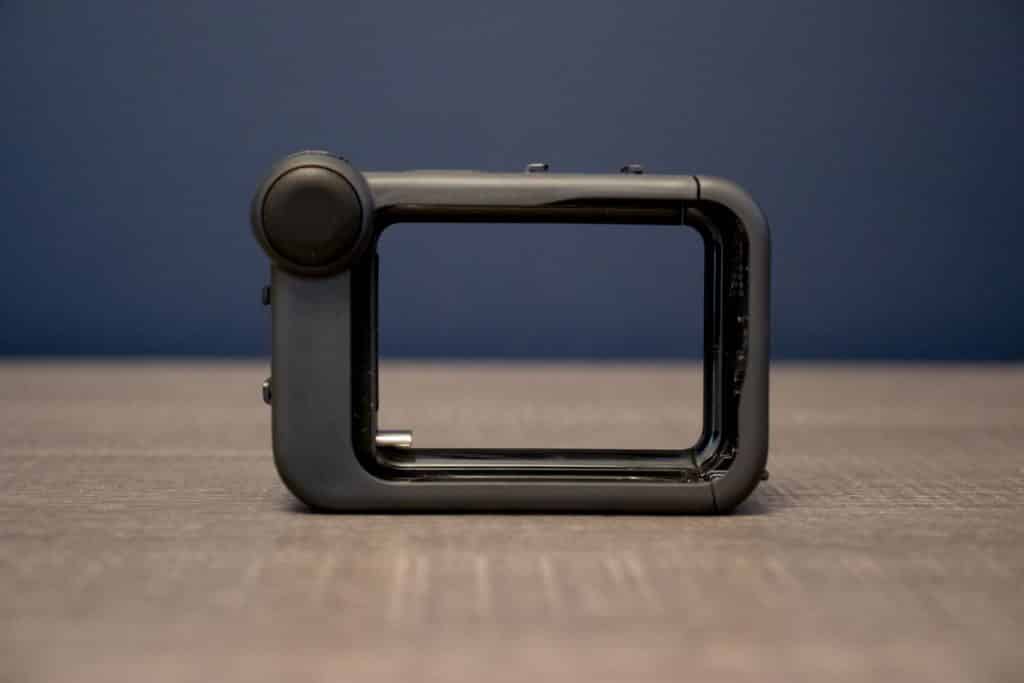
The GoPro Media Mod was released in 2020 with the sole purpose of helping content creators deliver better sounding videos, hot shoe mounts for accessories, and the ability to utilize different inputs from microphones and charging cables externally.
Pick It Up Here:
*Note – This mod will make your GoPro no longer waterproof. If you are going to be riding in the rain, be sure to remove the media mod and use normally without an external microphone.
Extension Arm
Purple Panda Microphone
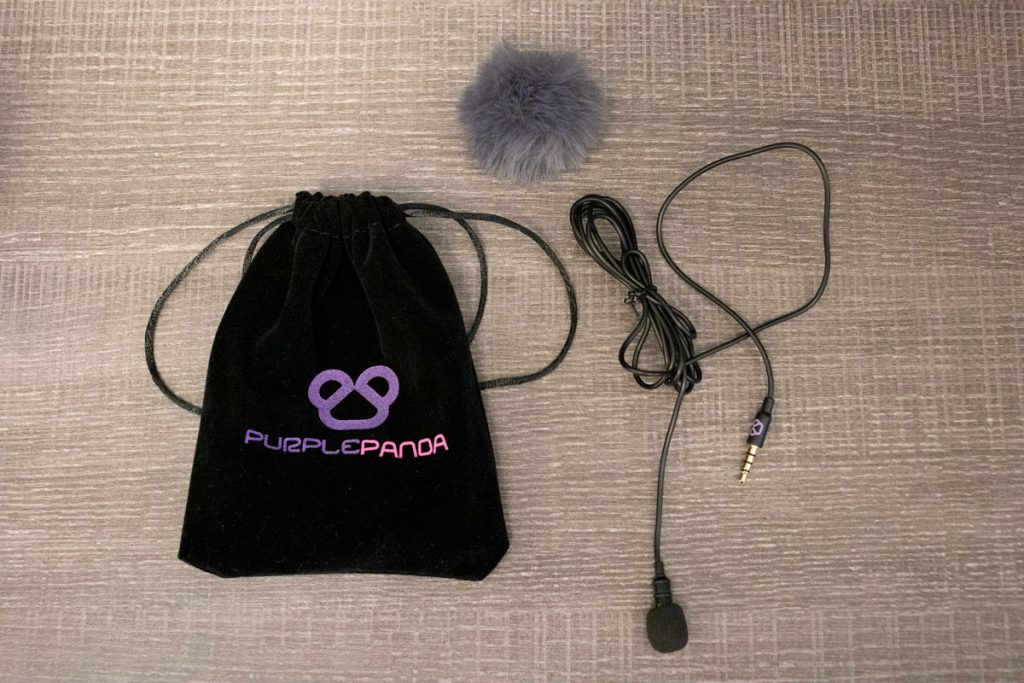
This microphone has been touted as one of the better microphones to use when recording your voice while riding. It comes with a TRS adapter that you will need when recording audio to your GoPro along with a little wind sock to stop that pesky wind noise from being recorded.
Pick It Up Here:
Once you have all of the equipment needed in your possession, it’s now time to get building.
The Setup
Step 1
Grab your helmet and clean it off. I would recommend using a cloth with a 50:50 mixture of water and isopropyl alcohol (IPA) to clean the area in which you will be adhering the mount to. Once it is cleaned up, let’s put together the mount.
Step 2
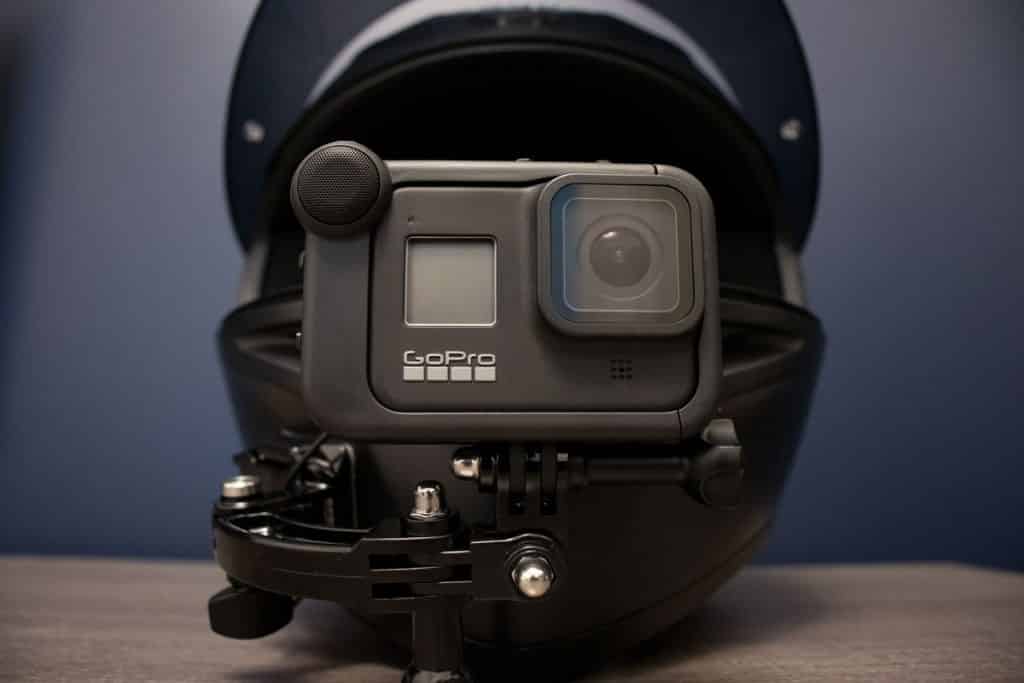
Gather all of the mounting pieces from the GoPro helmet mount kit and the extension pieces you ordered as well. Try to configure them in the best way possible to fit your helmet right under the visor near your chin. If you need to, grab your GoPro and see if your setup won’t impede your vision when riding.
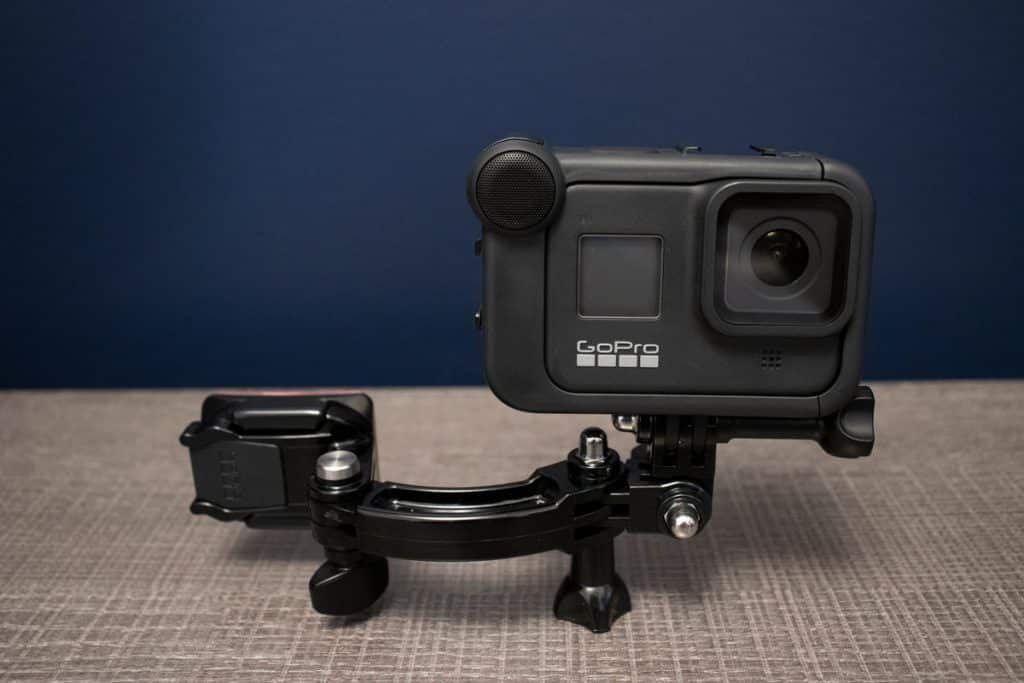
Grab a pencil and mark the area lightly where you would like to mount the main GoPro mount to your helmet. Feel free to ask a loved one or friend to help you during this process as it makes life a whole lot easier.
Step 3
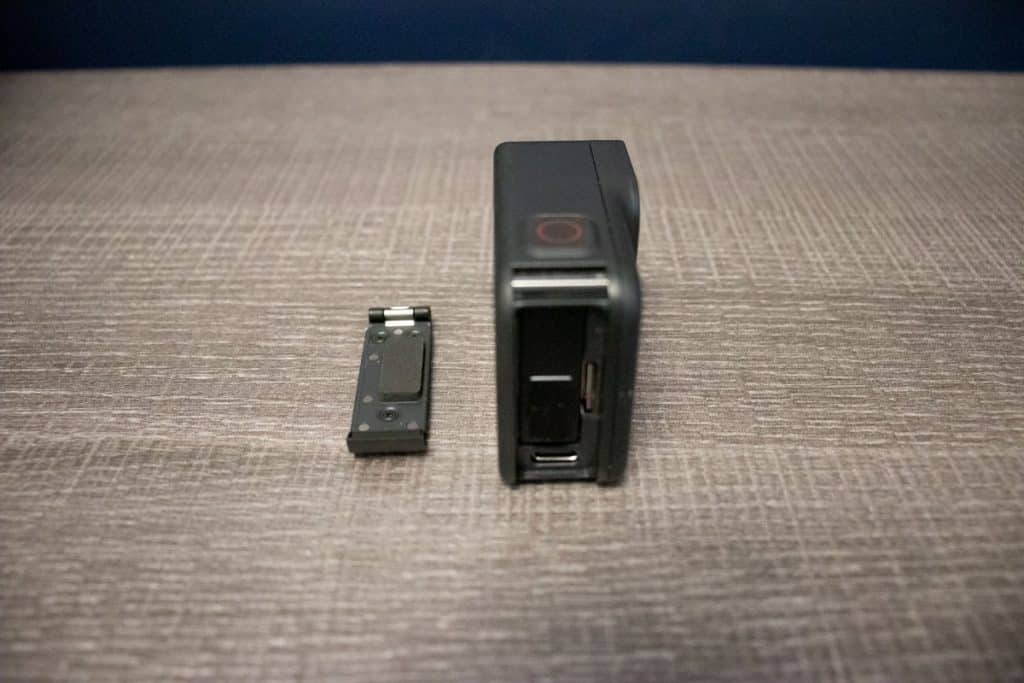
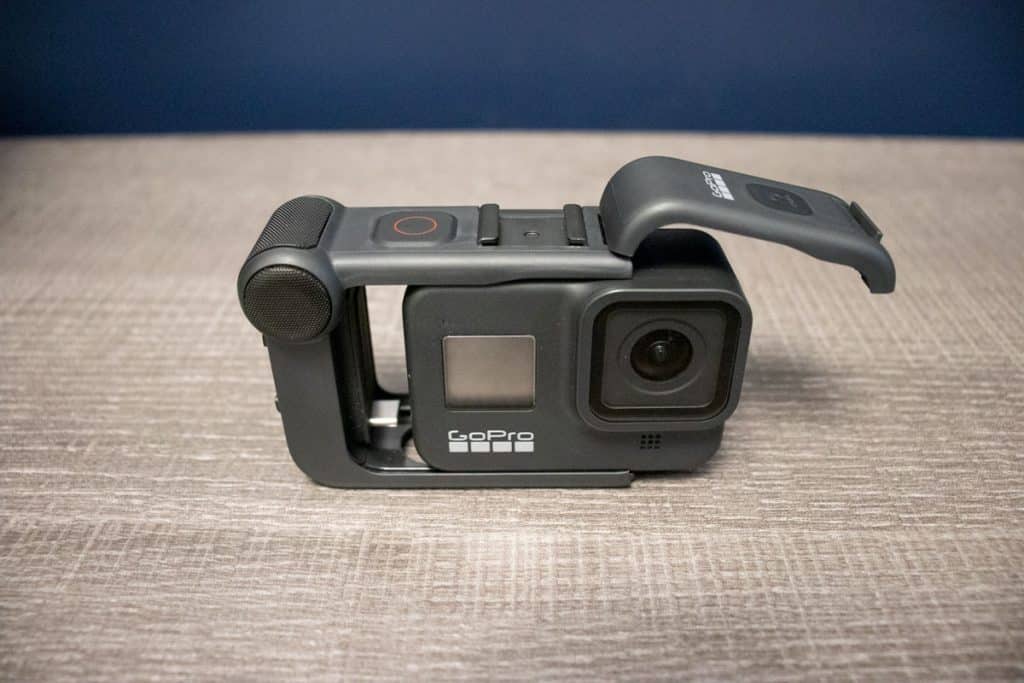
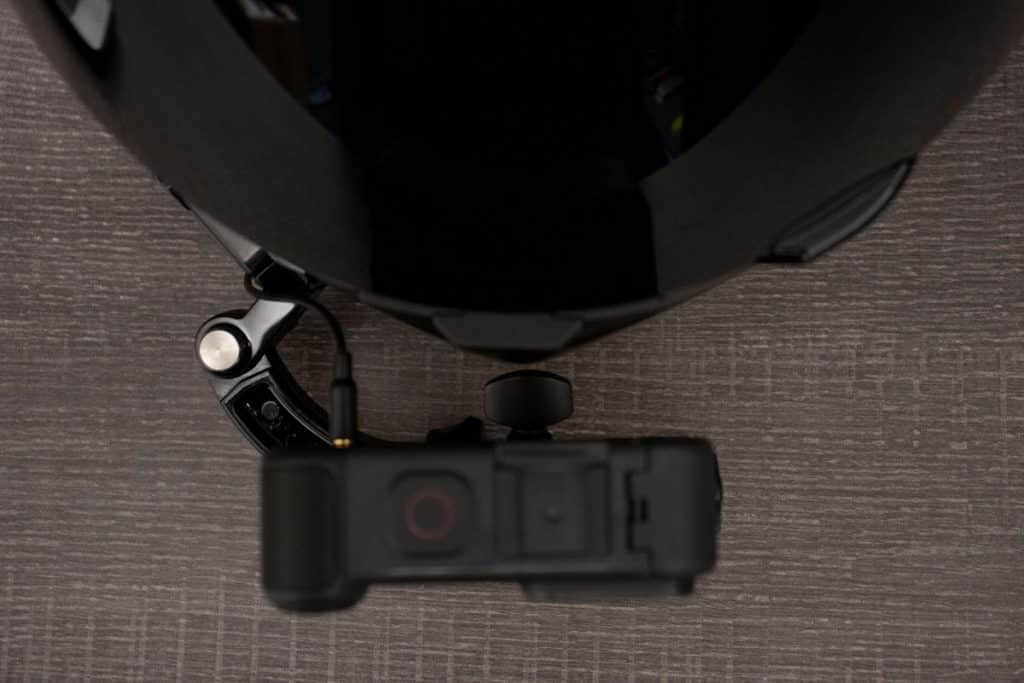
Grab your GoPro Hero 8 and Media Mod kit and install them together. When opening the side of the GoPro you will need to move the entire side flap up until it is released. Don’t worry, it isn’t broken and you can put it back together without an issue. This is the step that will make your GoPro no longer waterproof.
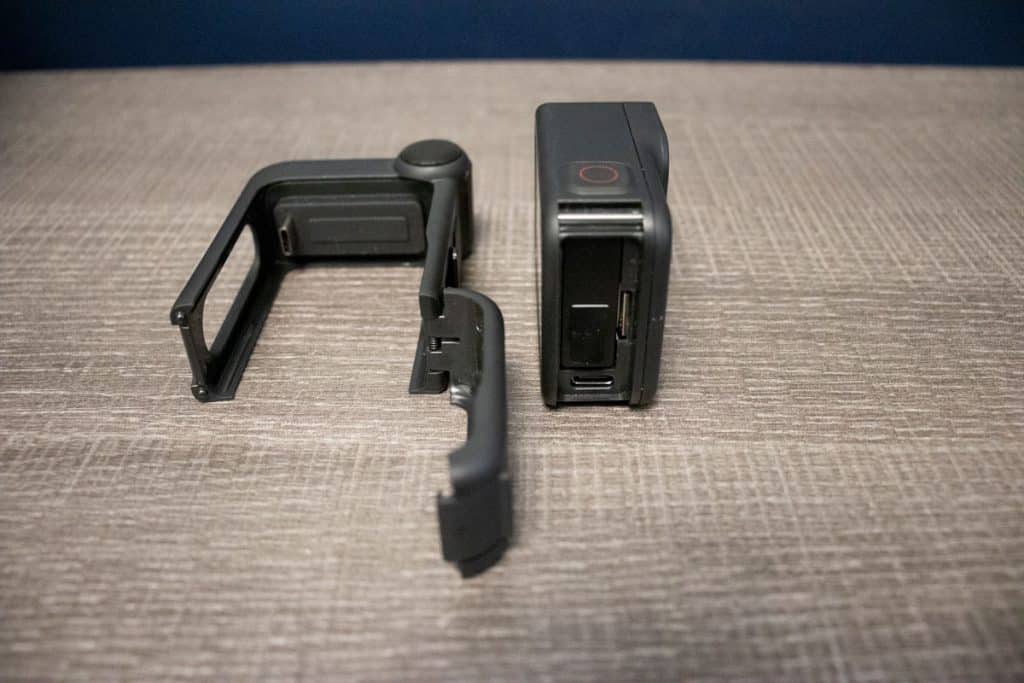
Open the GoPro Media Mod case on the side and slide the GoPro Hero 8 into the case. It’s a tight fit so be sure that you are putting it in the correct way (the plugins should be pointed towards the back of the GoPro) and the USB-C port is firmly pushed into the Media Mod. Once you’ve slid in the GoPro, close the side of the Media Mod and you’re good to go!
Step 4
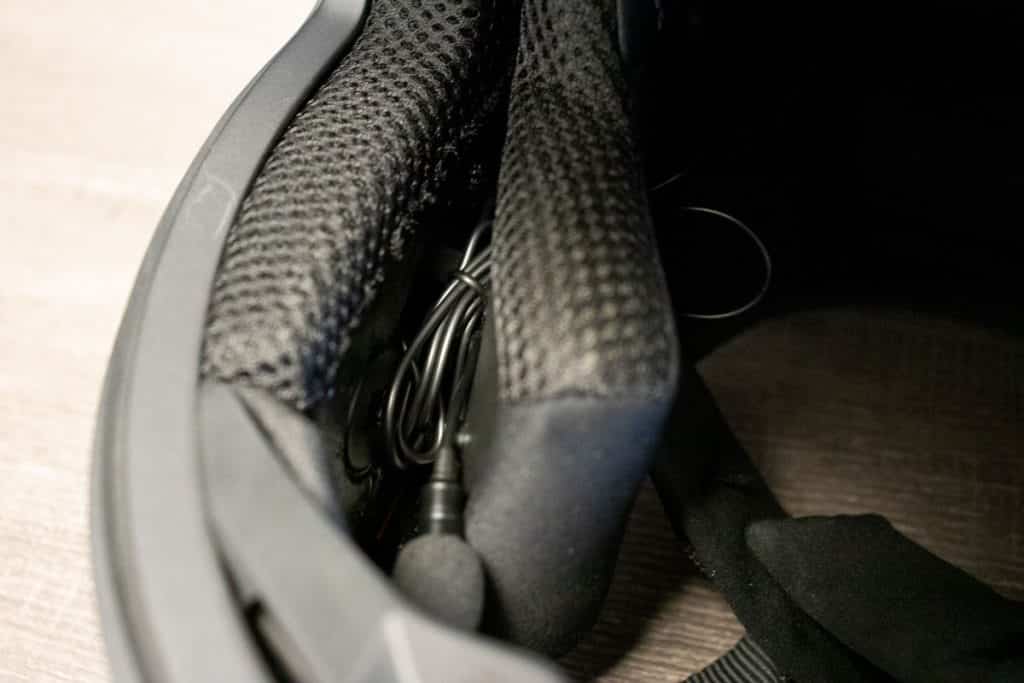
Grab the Purple Panda microphone along with the fluffy wind cover and TRS converter cable (short cable that looks like a small 3.5mm extender). Do not take the twist tie off the wrapped cable as it will make life so much easier if you keep it on.
Next, we are going to see how much cable we need in order to reach the GoPro Media Mod and to mount the microphone. Try to run the cable as neatly as possible and ensure that it won’t interfere with your field of vision or comfort.
Try the helmet on to see if the wires are in your way or are pressing into your chin / cheek in any areas.
I ran the cable behind my cheek pad, into the speaker slot and then down in the chin into the GoPro Media Mod. It’s quite seamless and very comfortable.
Step 5
Let’s mount the GoPro to the cheek. Pull off the VHB sticker and place the mount (without the GoPro or arms) to the area that you picked out on your helmet. Attach the mount and GoPro and check out the position.
The great thing about these kits is that they are easily configurable with many different positions to allow you to move vertical or horizontal.
Step 6
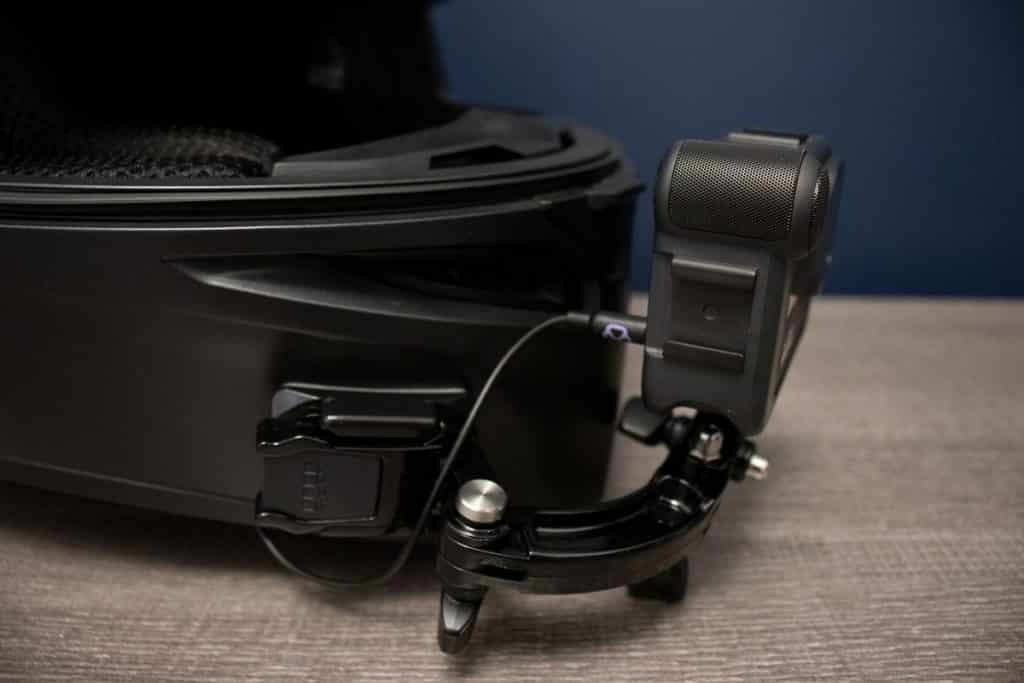
Plug in the Purple Panda microphone and feel free to manage the wiring however you want.
Be sure to leave enough space for the connection between the microphone wire and your helmet so that there is no compression on the wire which could cause premature wear.
I used some electrical tape on the mount to keep the wire from flapping in the wind.
Step 7
Head into the GoPro and be sure to adjust the microphone settings to a Standard microphone without the +. The + will increase the gain from the microphone but I’ve found the + setting to be too loud.
Step 8
Take the new setup for a ride. If you’d like to adjust your settings to suit your preference, be sure to head out prior to doing so. Also, try to remember the GoPro voice commands as it will help you from having to find the button to begin or stop recording on the go.
Conclusion
I hope that you found this guide helpful and hopefully we will see the footage you were able to create with this setup! If there is anything you would like to add, please let me know as there is always room for improvement.